- Published on

Lotus and Kingfishers in Chinese Brush Painting Technique
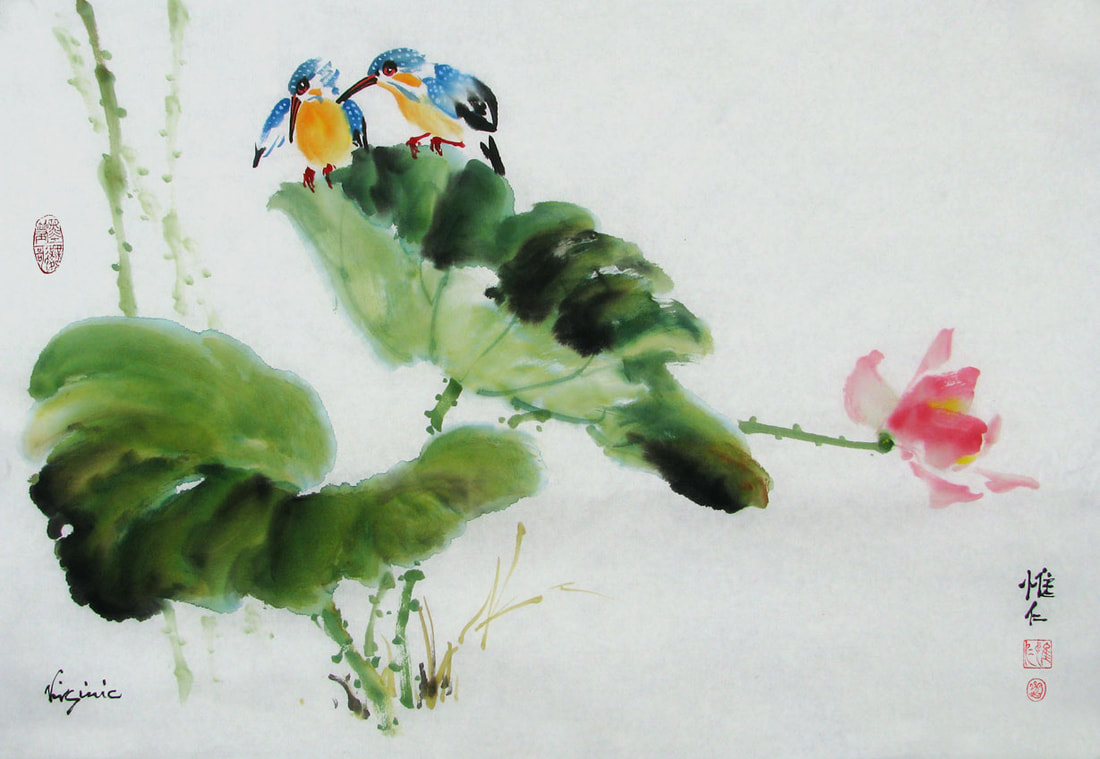
Sumi-e paintings of lotus leaves are often executed in strong black ink, but there is a delicious floaty quality to Chinese brush paintings using a combination of indigo blue and yellow, and just a tip of black ink for emphasis. In this case, I used Yasutomo Chinese Watercolors in tubes. The colors are very vibrant, even after they dry, and because they are Chinese watercolors, they will not run on the paper when re-wetted. The paper is thin, raw "xuan" or rice paper. The red chop or seal on the left is called a "mood seal" and reads "the brush dances and the ink sings". The two chops below my Chinese signature on the right are "Wei Jen", my Chinese art name, and an oval cartouche with my Western initials.
Composition Tip: Notice the strong triangles formed between the leaves, the birds and the flower. The triangle is a classical element in Asian compositions. It emphasizes the perspective in a painting and gives a sense of three dimensions.
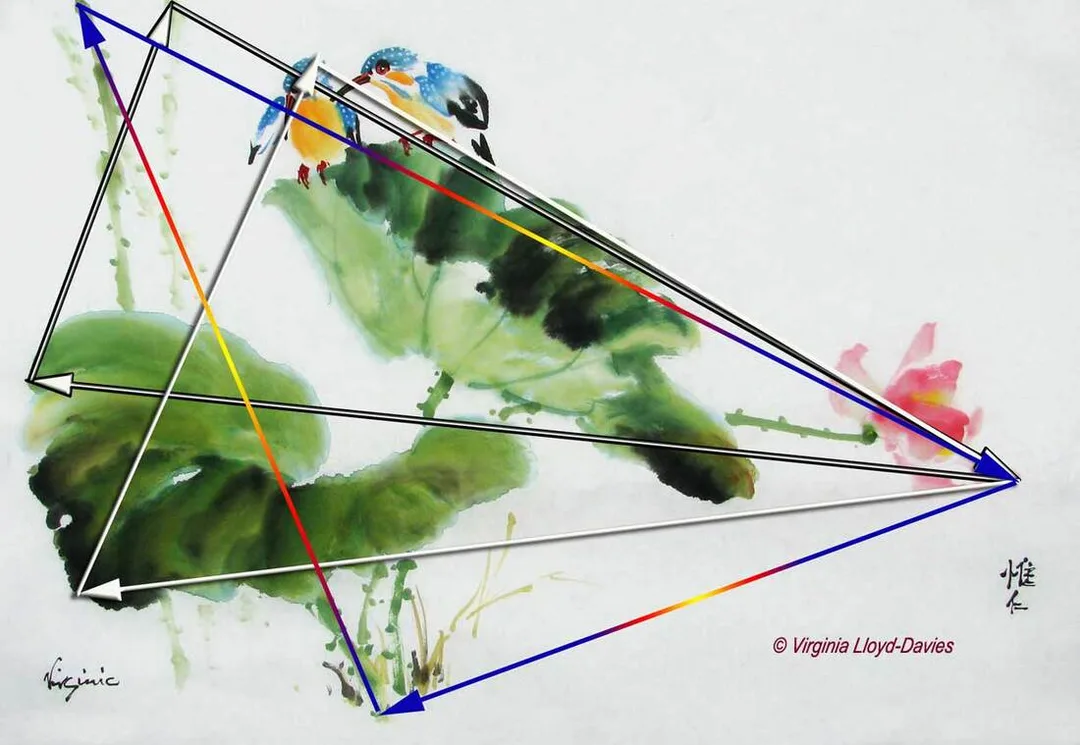
Triangular Composition

You can learn how to paint lotus and kingfishers in my book "Mindful Artist: Sumi-e Painting" published by Quarto and available worldwide in bookstores and on the internet. See step by step illustrations and useful tips in this popular book. You can also find more lotus compositions in my painting galleries and in my blog posts. Good luck and happy painting!
- Published on

I started this sumi-e painting of Lotus and Kingfisher on thin, raw xuan paper from HMay Art (HM 004). It’s a good paper, but like all papers, it takes getting used to (note: this paper comes in white and an off-white antique look. I used the white.).
Step 1: Black Ink Mixed with Water

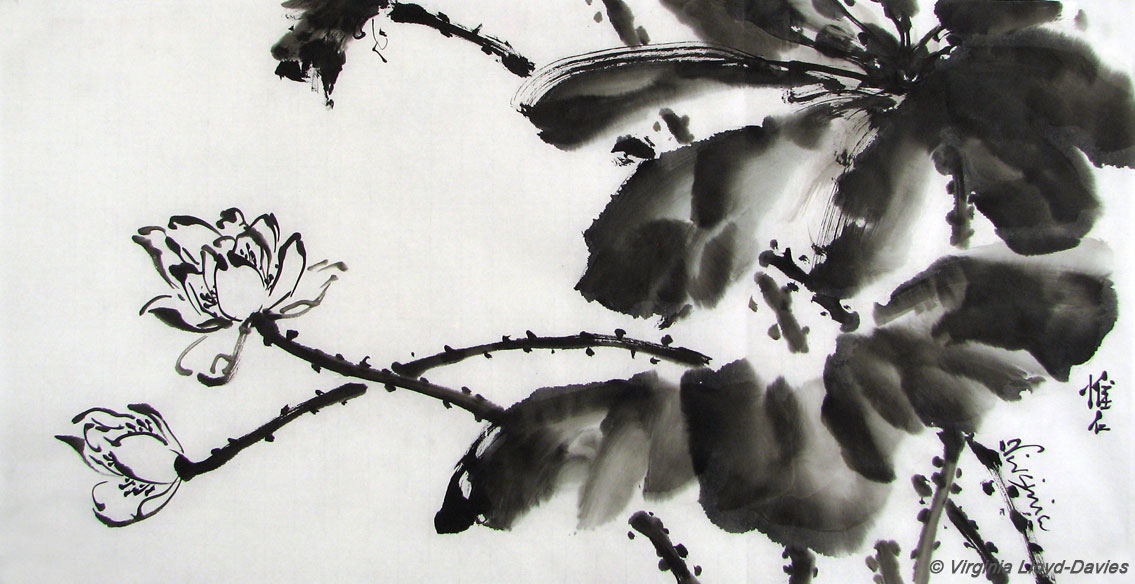
For the leaves, I chose a large brush from HMay Art that holds a lot of ink and water. The paper was runnier than I expected and the black lotus leaves on the right lost their crisp edges as the ink spread. To prevent the flower petals from running, I used pure black, which was a bit harsh to my eye. Grey would have been better. I was tempted to throw the painting away and start again, but I decided to push it a bit further.
Step 2: Coloring the Flowers

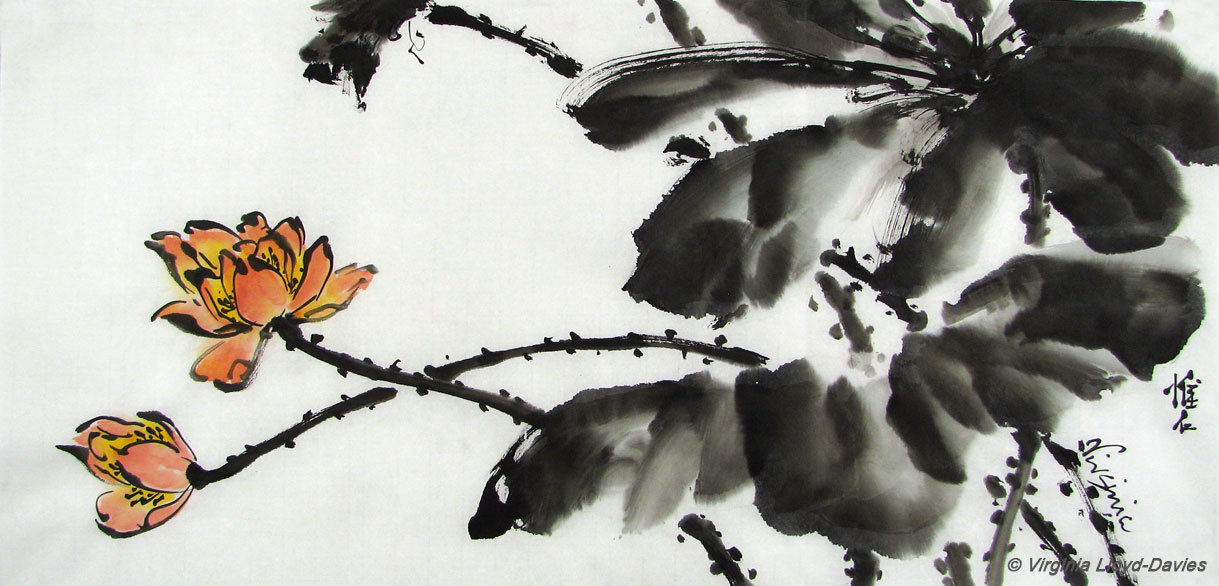
For the flowers I used a combination of yellow, orange and red (Marie's Watercolors). Coloring the flowers shifted the attention from the leaves to the flowers, but those blurry leaf edges still annoyed me. You can watch me paint lotus flowers here.
Step 3: Adding Background Elements
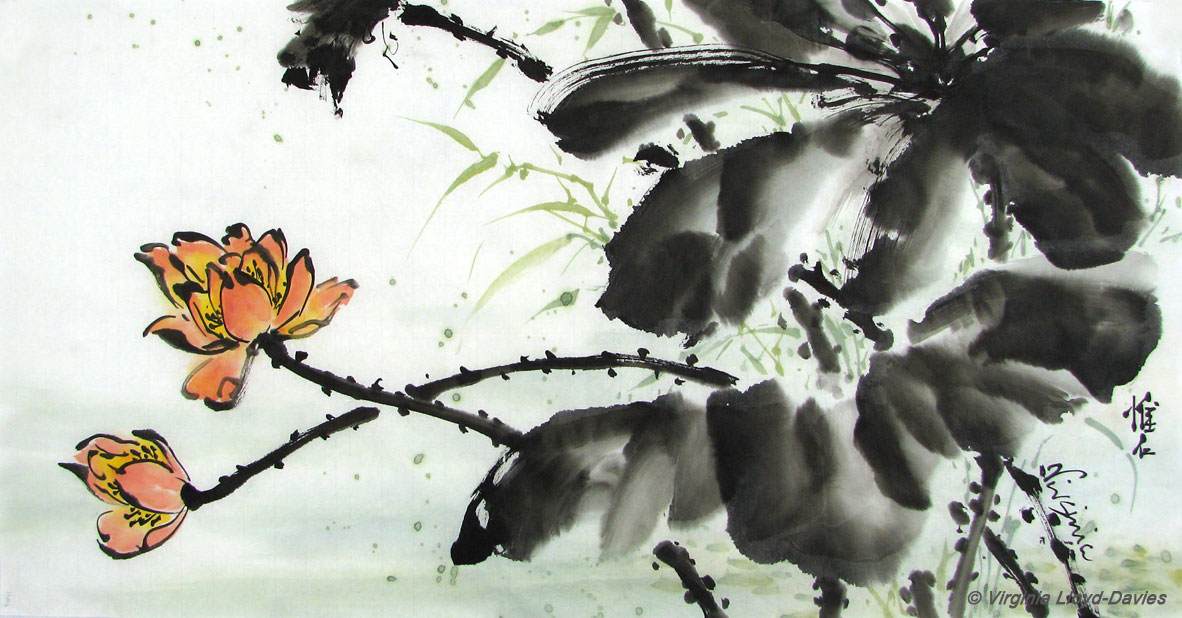

To give depth to the composition, I added green grasses and splashes of color in the background. I painted them lightly so they wouldn't compete with the foreground leaves. Unfortunately, my delicate strokes were totally overpowered by the black leaves and merely looked wimpy.
Step 4: When in doubt, add Outline!

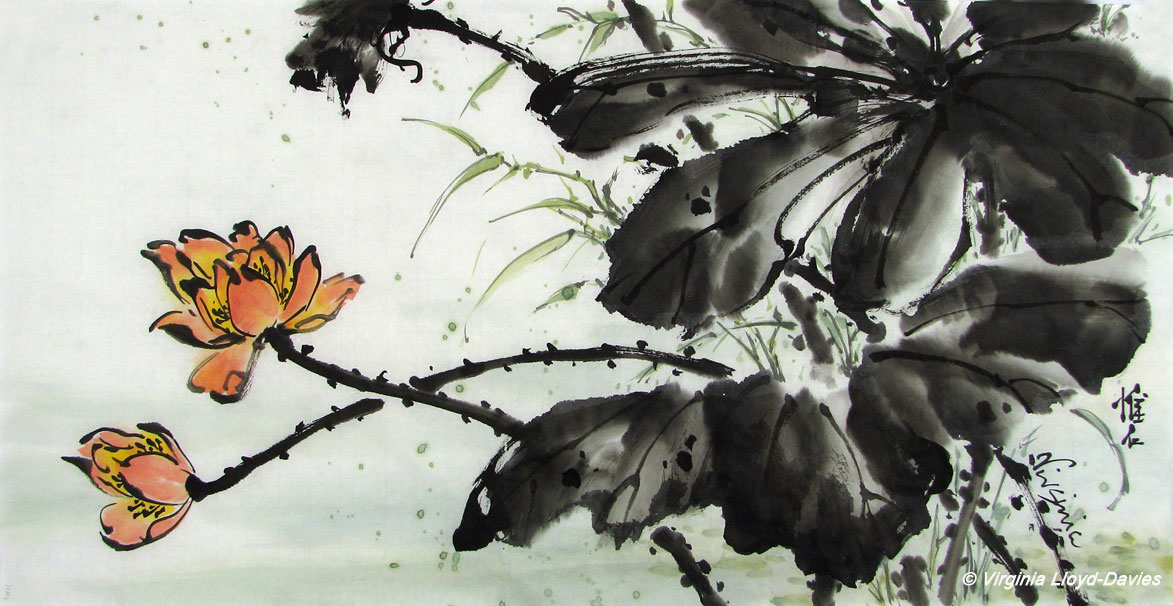
Adding veins and strong black to the edges of the lotus leaves gave them more focus – which of course made the grasses look even wimpier. A little grey outlining on the grasses, however, gave them more weight, while still keeping them in the background.
Step 5: Taking a Risk
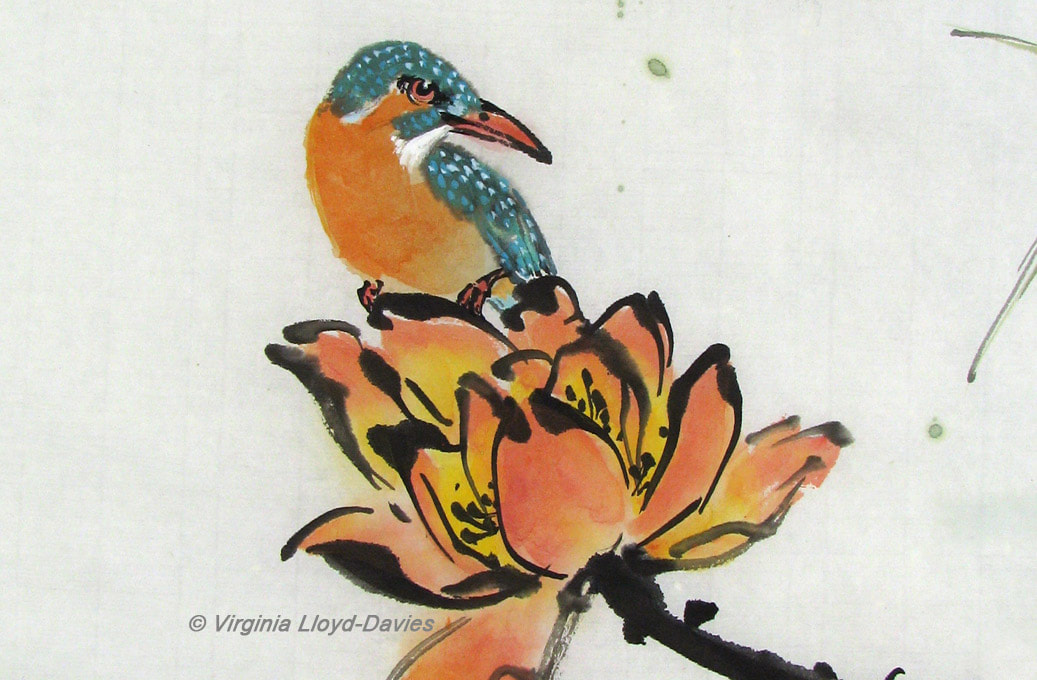

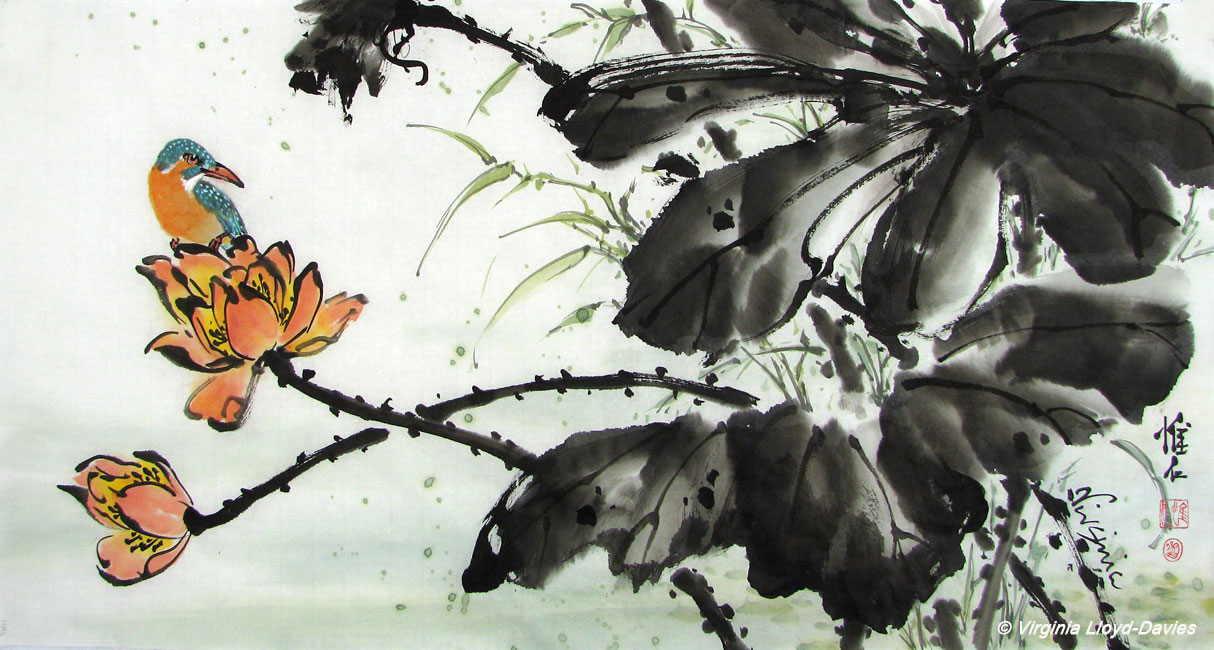
At this point, I decided to throw all caution to the winds and add a bird, always scary when you hope it will be the crowning glory of the painting but could turn out awful and ruin the whole thing. The kingfisher's belly color combines with the flower tones and leads the eye upwards, giving more mass to this flower and emphasizing its importance compared to the second, smaller flower.
Step 6: Success! Risk Pays off!


Success! Adding the kingfisher firmly stole the focus of attention from the leaves, but the bird’s turning head draws the eye back to the leaves, keeping the viewer – I hope! – happily roaming round in the scene and discovering more details.
The painting measures 14"x27" (35 cm x 68 cm).
The moral of the story: Never give up! The worst that can happen is you end up throwing away a small piece of paper! In the meantime, you are training your eye and your critical faculties to see possibilities, and you are splashing in the ink, which is always fun! Good luck and happy painting on your lotus!
I welcome comments and questions, so don't be shy!
- Published on
Lotus flowers can be painted in many different ways in sumi-e or Chinese brush painting style. In this video I am demonstrating the outline and color technique. Some artists color their flowers meticulously; because this is a quick demonstration I am using more of a 'splashing ink' style. I used dark grey ink for a gestural outline and carmine, blue and yellow for the colors. The brush is a 'Happy Dot', which has a great point and springiness. You could also add stamens in black, red or yellow when the painting dries.
Here is a different style of lotus flower, using white on top of red while the paint is still wet to create the petals. If you wait until the flower is dry, you can add a wash to the back of the paper and the white petals will show up clearly.
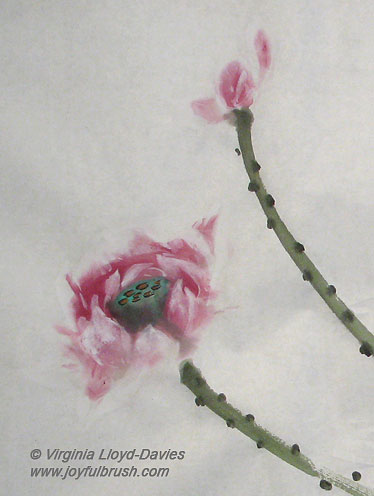
Below you will see how the flowers pop out when I add outline in red , then turn the painting over, spray the back with water and apply a soft greenish-yellow to give a background color. Yes! This is the same painting!
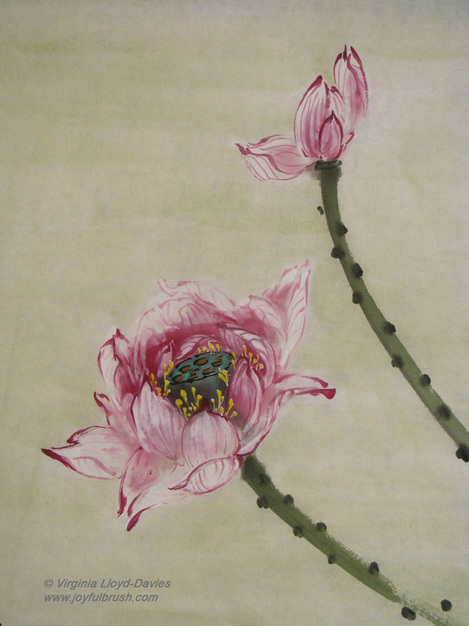
Lotus flowers outlined in red


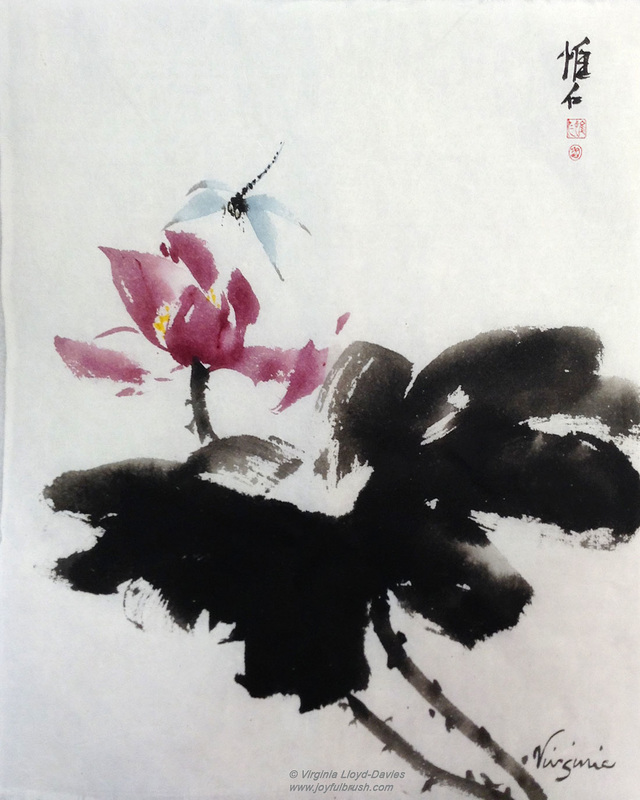
Quick-stroke sumi-e lotus and dragonfly